Hello, in this article we will see how to create a virtual machine easily through the Cloud Shell, an integrated scripting environment where we can use commands with Powershell or use Bash for provisioning and operations on the different MS Azure resources.
Prerequisite:
- A Microsoft Azure subscription.
Disclaimer: Given the constant updating of Cloud Computing technologies some steps may be different at the time of reading the article, I will make the effort to keep it updated, but there could be some differences between what is shown below and the Azure console at the moment of the implementation.
Creation of the resource group and the virtual network
To begin we will create the virtual network and the subnet where we will create our virtual machine.
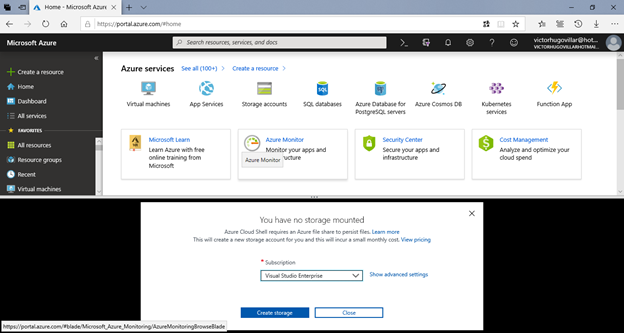
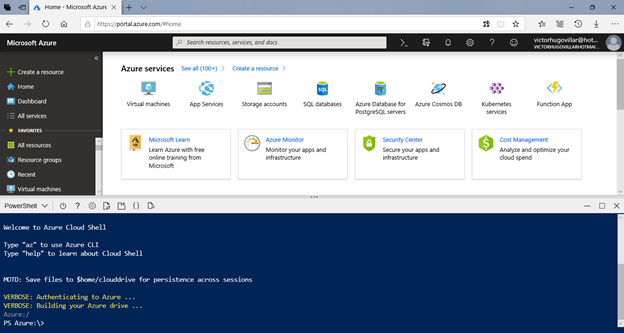
- Go to your subscription and at the top click on the button >_
- The Cloud Shell console will open, it will ask for the subscription with which we want to work and to carry out the operations it will create a storage account (if you click on show advance settings it will allow you to select an existing resource group, give a name to the storage account and fileshare that will be inside the storage account), click on Create storage
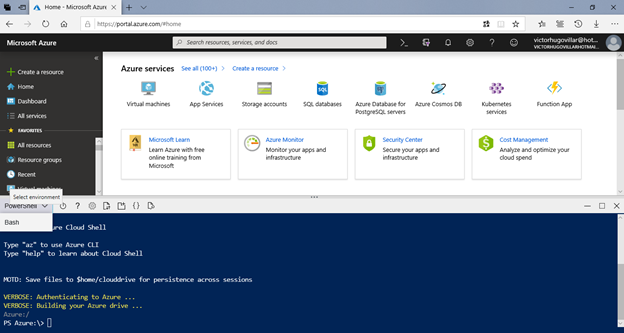
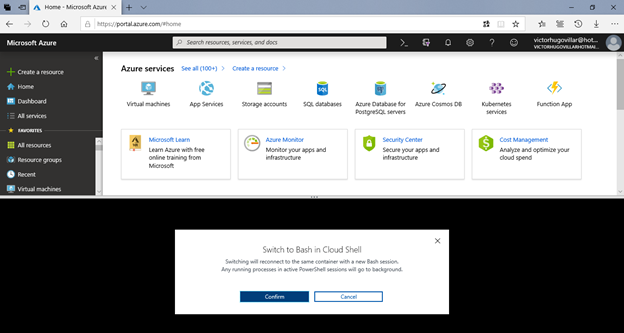
- By default the PowerShell interface opens, click on the drop-down list where the word PowerShell appears, select Bash and click on Confirm
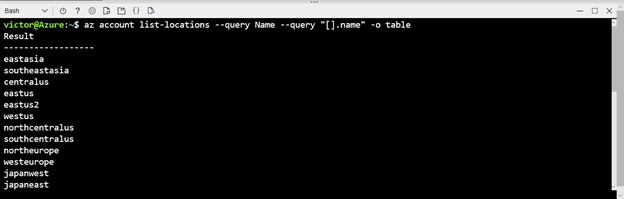
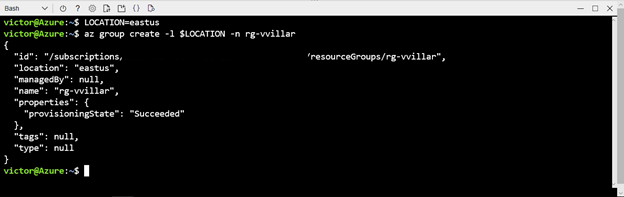
- The interface changes to a black background and this is where you will start creating the resources. Start by creating the resource group called rg-vvillar and in the location assign East US. To have a list of the names of the regions in the format of how we should add them in future parameters we can use the following command: az account list-locations –query Name –query “[].name” -o table
- Create the Location variable that we will use later within the parameters for the creation of other resources and also type the command to create the resource group. LOCATION = eastus az group create -l $LOCATION -n rg-vvillar
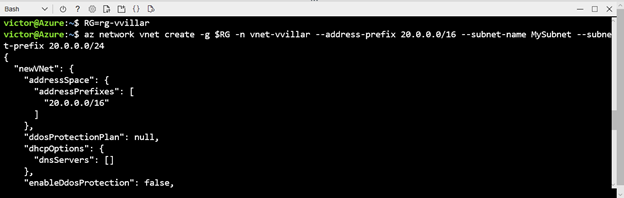
- See that in the provisioningState the word Succeeded appears, capture the name of the resource group in the variable RG and then proceed to create the virtual network and the subnet indicating a range of IP addresses for each one, for this type: RG=rg-vvillar az network vnet create -g $RG -n vnet-vvillar –address-prefix 20.0.0.0/16 –subnet-name MySubnet –subnet-prefix 20.0.0.0/24
Creation of the virtual machine
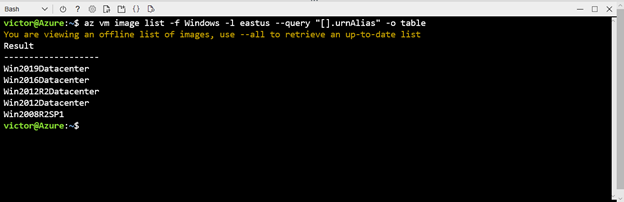
As a next step, create the virtual machine, for this we will use a Windows Server 2016 image.
- If we want to see the list of virtual machines with Windows published by Microsoft we can type the following command: az vm image list -f Windows -l eastus –query “[].urnAlias” -o table
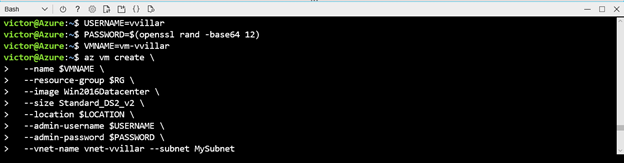
- Create two variables, one for the username and password, and then the command for the creation of the virtual machine of size DS2_v2: USERNAME=vvillar PASSWORD=$(openssl rand -base64 12) VMNAME=vm-vvillar az vm create \ –name $VMNAME \ –resource-group $RG \ –image Win2016Datacenter \ –size Standard_DS2_v2 \ –location $LOCATION \ –admin-username $USERNAME \ –admin-password $PASSWORD \ –vnet-name vnet-vvillar –subnet MySubnet
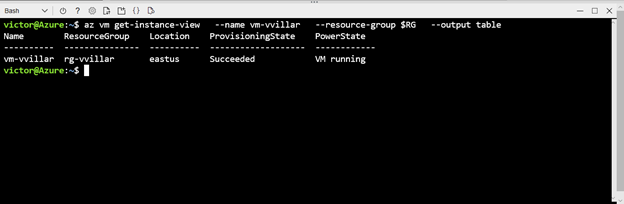
- Verify that the machine is successfully created with the command: az vm get-instance-view \ –name $VMNAME \ –resource-group $RG \ –output table
Enabling the IIS role
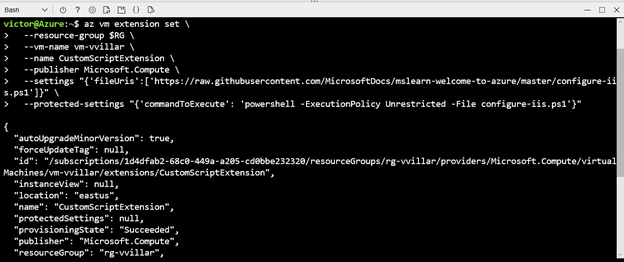
- Type the following command that refers to a script from github and that has the command to enable the IIS and modifies the index html file: az vm extension set \ –resource-group $RG \ –vm-name $VMNAME \ –name CustomScriptExtension \ –publisher Microsoft.Compute \ –settings “{‘fileUris’:[‘https://raw.githubusercontent.com/MicrosoftDocs/mslearn-welcome-to-azure/master/configure-iis.ps1’]}” \ –protected-settings “{‘commandToExecute’: ‘powershell -ExecutionPolicy Unrestricted -File configure-iis.ps1’}”
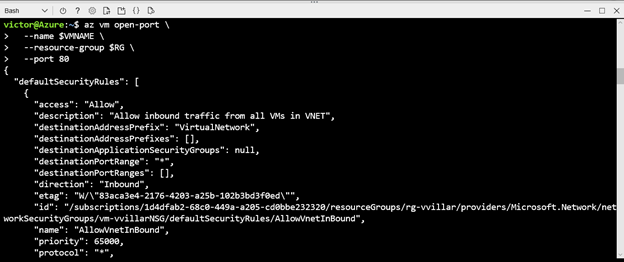
- Open port 80 of the virtual machine to enter via http: az vm open-port \ –name $VMNAME \ –resource-group $RG \ –port 80
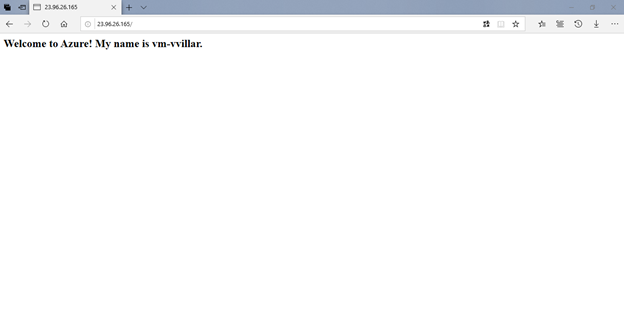
- To obtain the public IP of the virtual machine type the following command: az vm show \ –name $VMNAME \ –resource-group $RG \ –show-details \ –query [publicIps] \ –output tsv
- Copy the public IP and paste it into a browser to go to the web page of the virtual machine